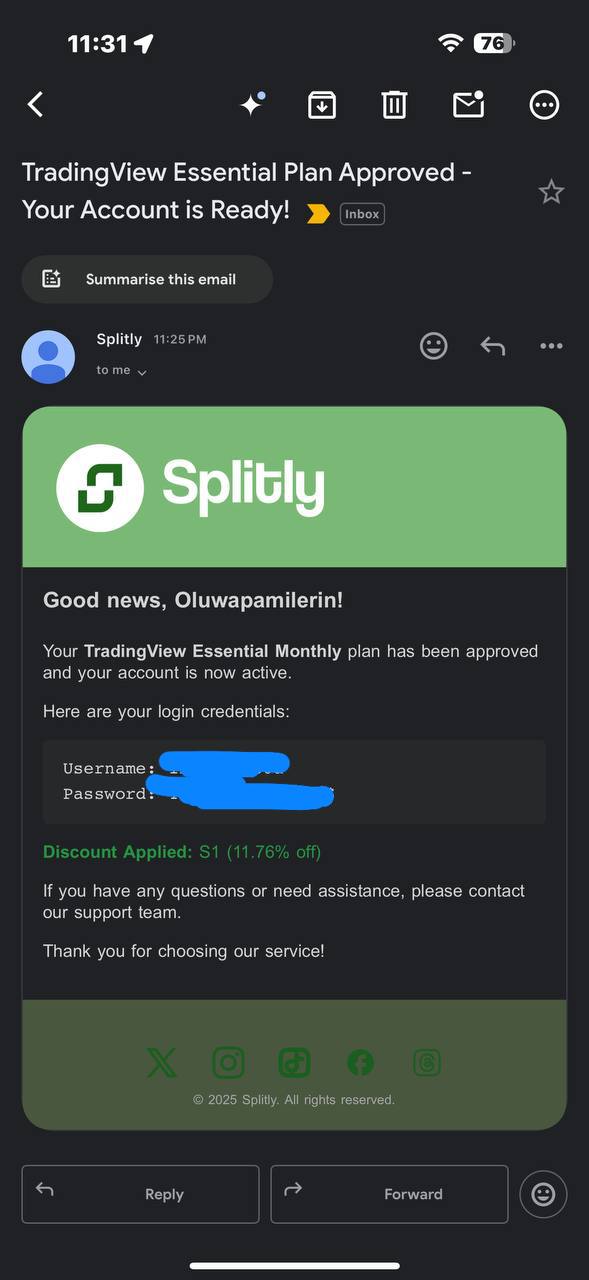
Welcome to Splitly! We're thrilled to have you join our community and access the tools you need. This comprehensive guide will walk you through the entire process of placing an order on our website, whether you're looking for an individual plan or a shared partnership. Let's get started!
Step 1: Head to Our Website
Your journey begins at our official home:
Go to https://gosplitly.com/

Step 2: Get Started
Once you're on the homepage, look for the "Get Started" button:
* Click on "Get Started"

Step 3: Join the Splitly Community (If You're New)
If this is your first time with us, you'll need to create an account. It's quick and easy!
* Click on "New here? Join us"
* For a detailed walkthrough on signing up, check out our dedicated guide: https://blogs.gosplitly.com/blogs/how-to-sign-up-on-the-splitly-website-beginners-guide
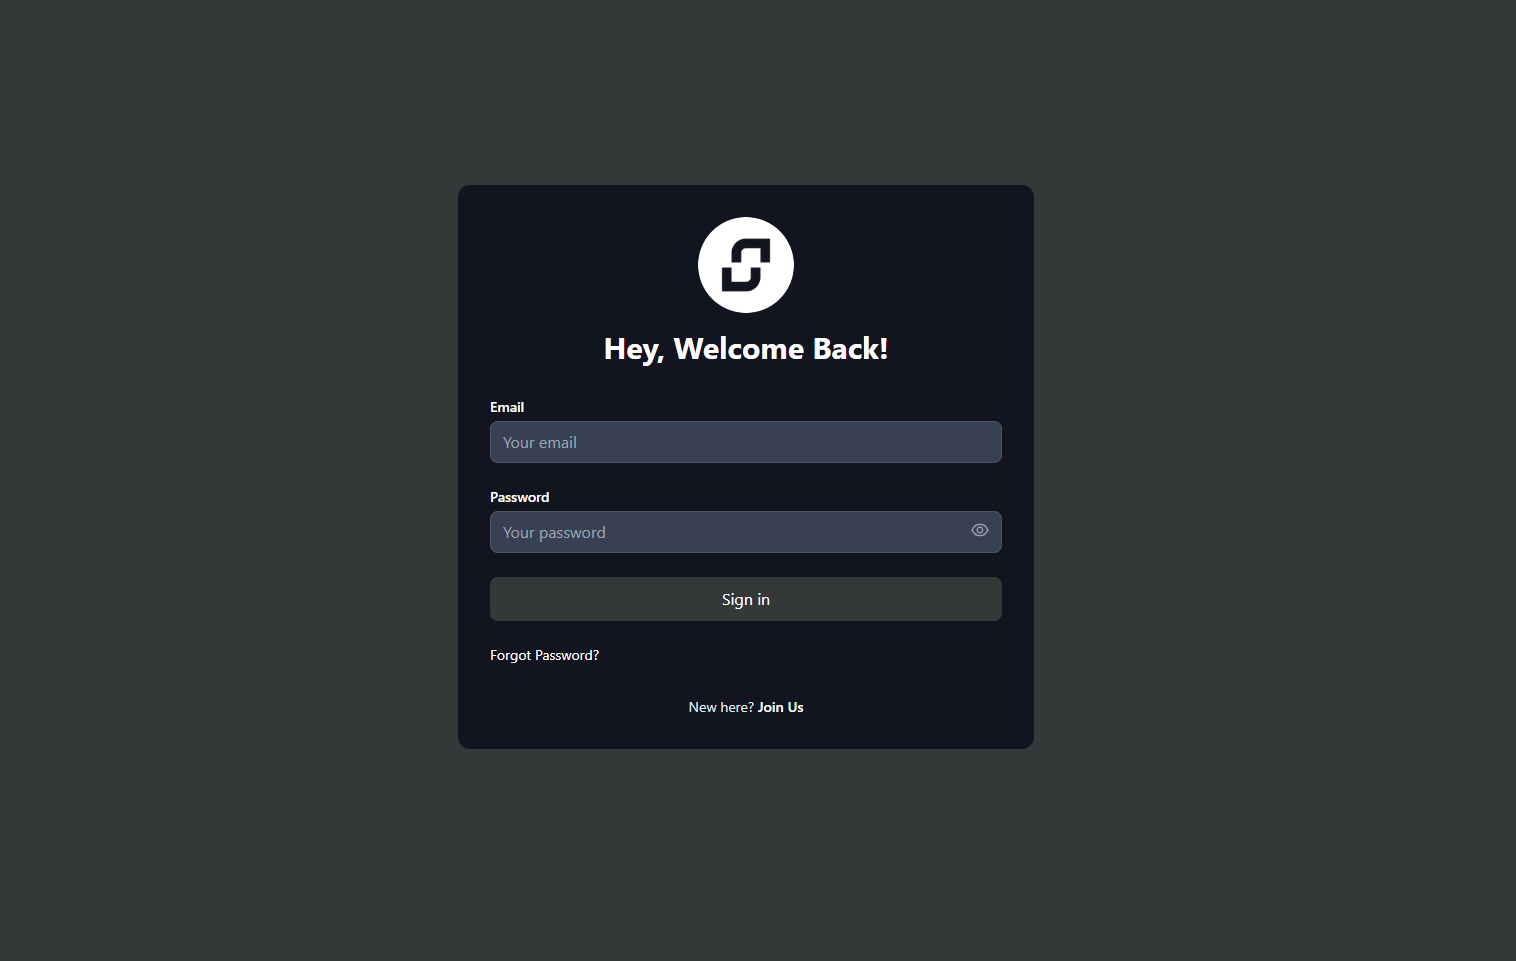
Step 4: Log In to Your Account
Once you've signed up or if you're a returning user, simply log in:
* Enter your email and password
* Click on "Sign In"
Step 5: Navigate to the Menu
Time to access the main menu:
* Click on the three horizontal lines (often called a "hamburger icon") located just before the SPLITLY logo.
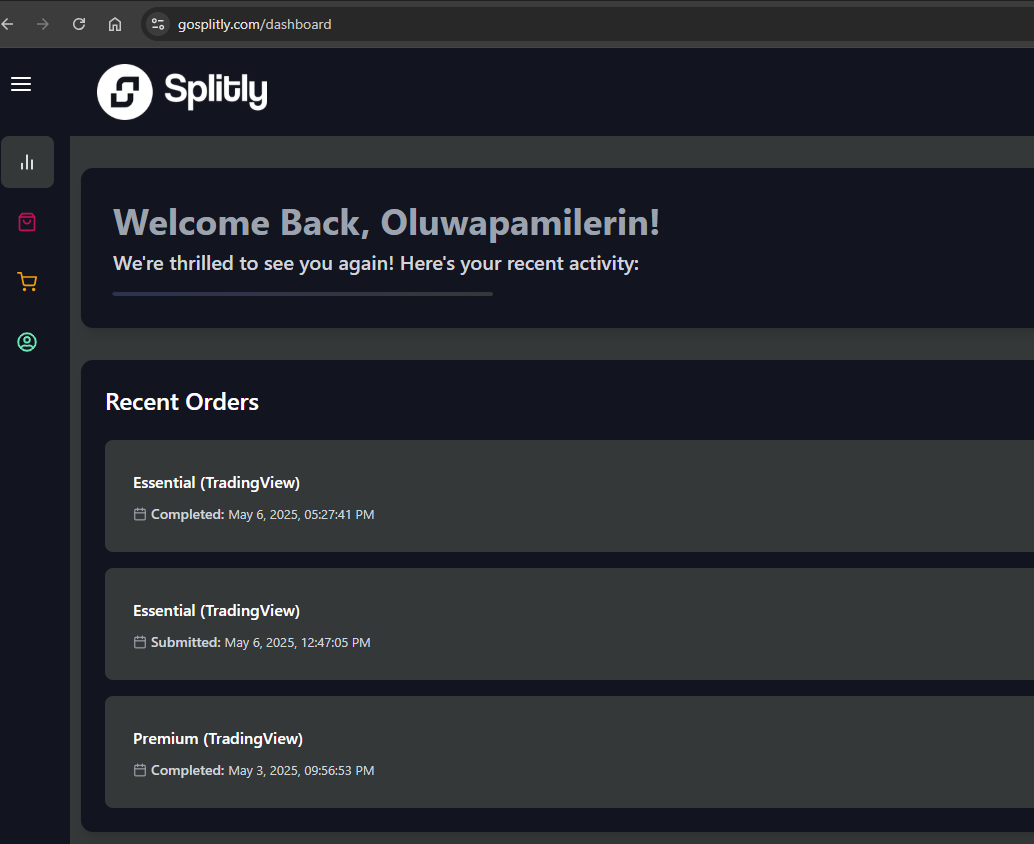
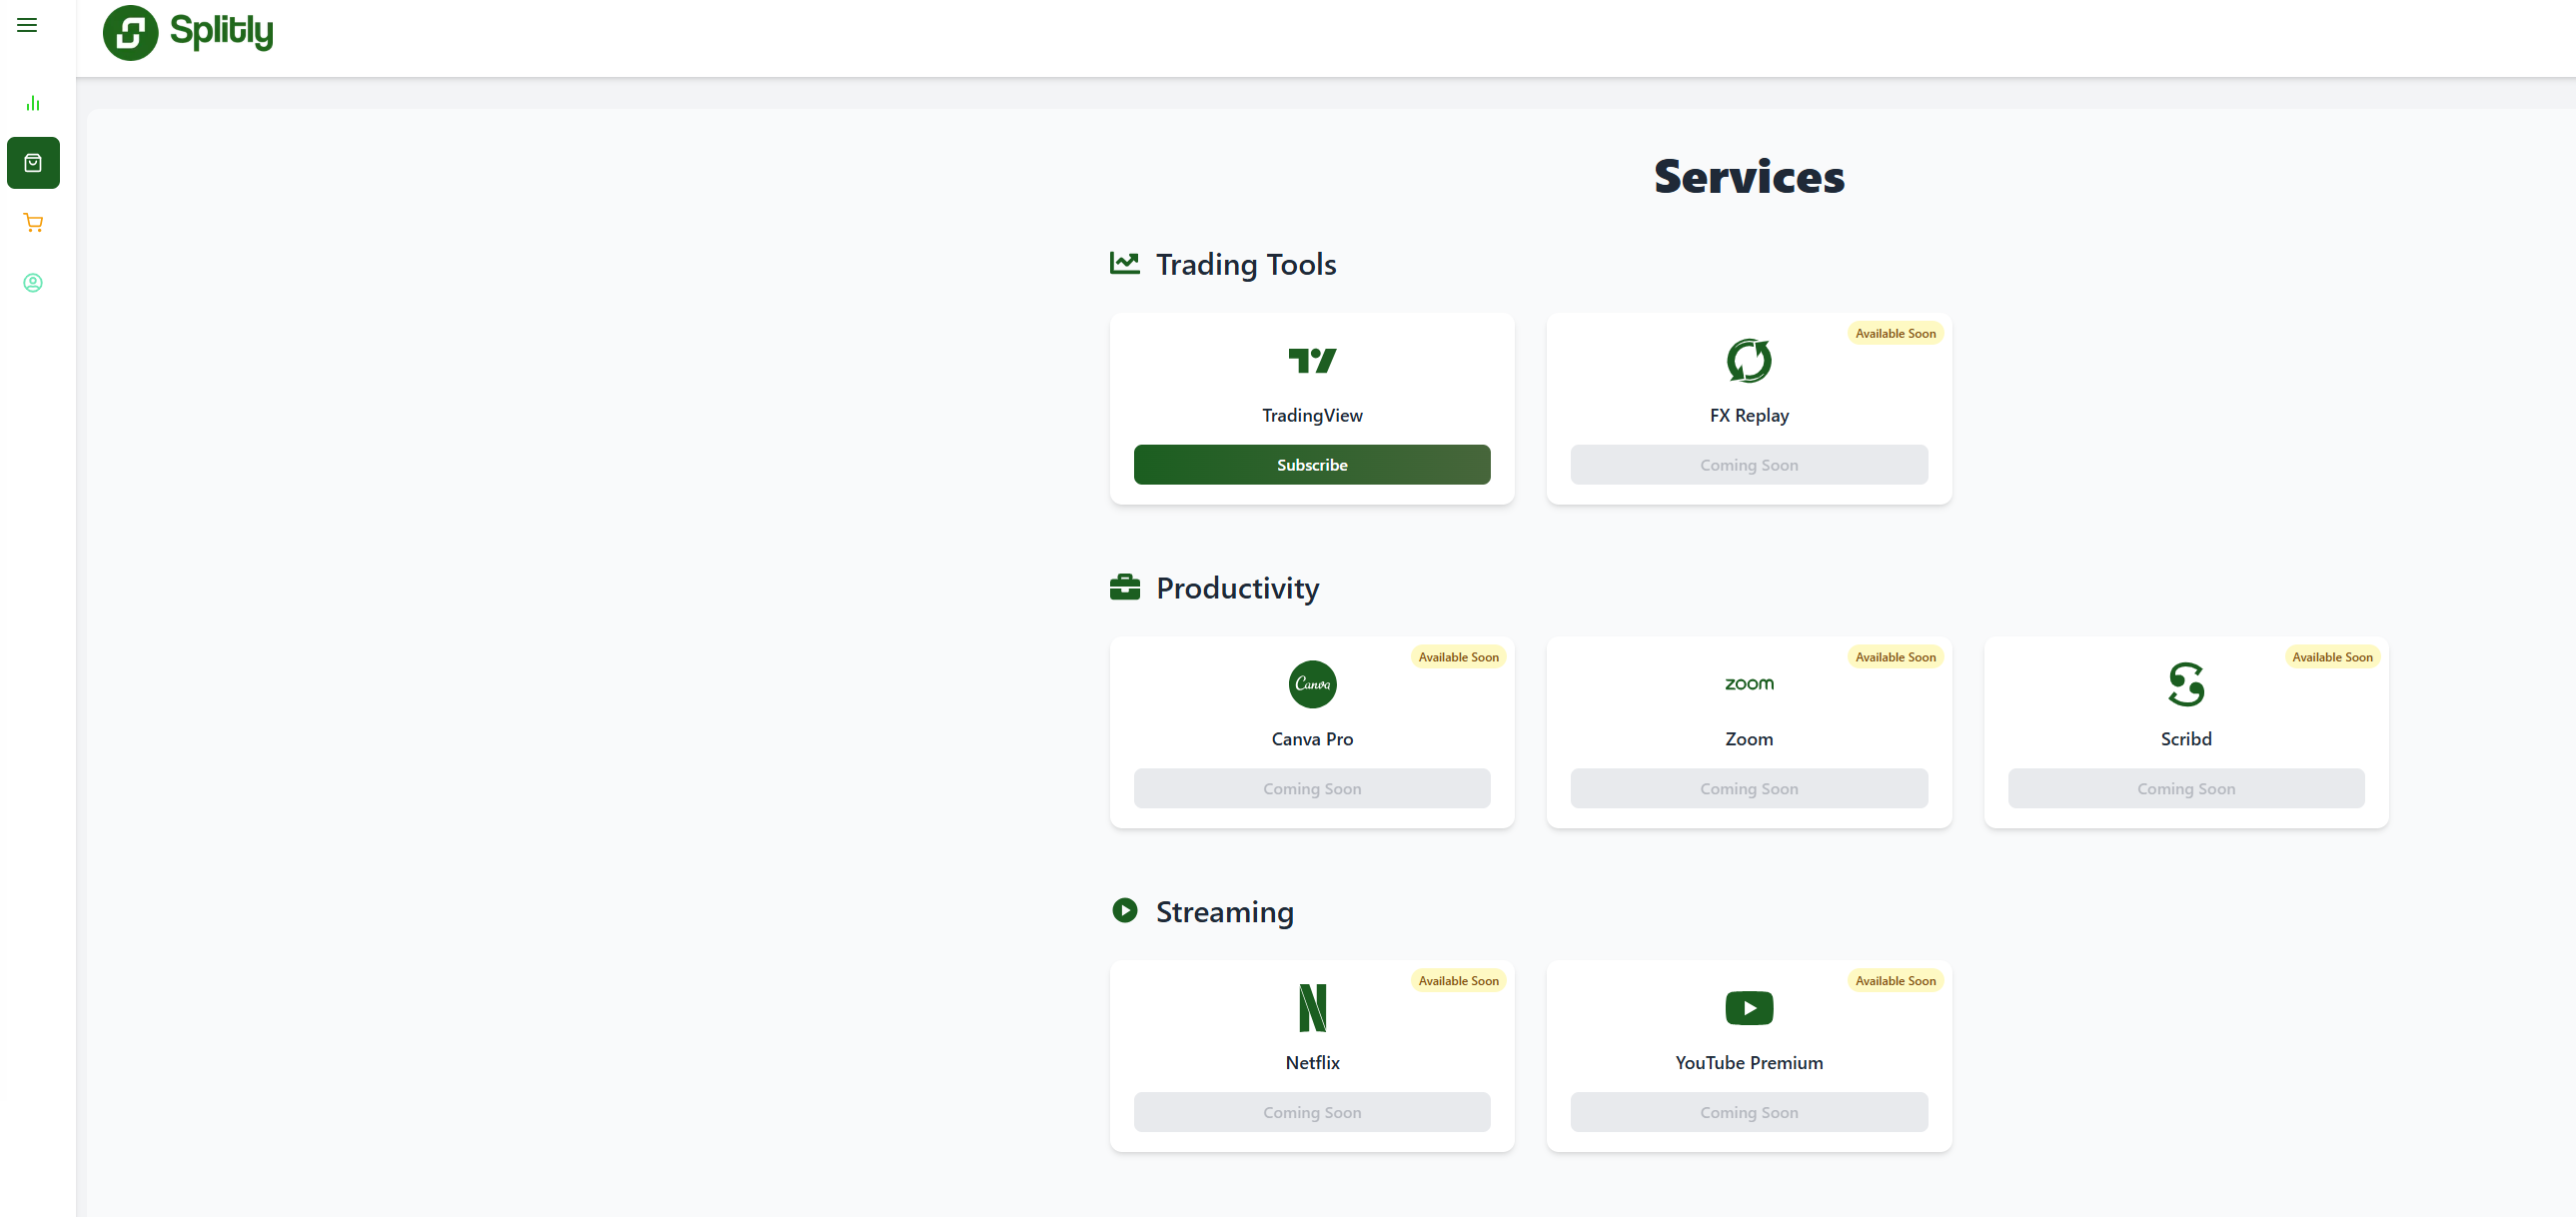
Step 6: Find Your Subscription
From the menu, you'll want to go to the subscriptions section:
* Click on "Subscription"
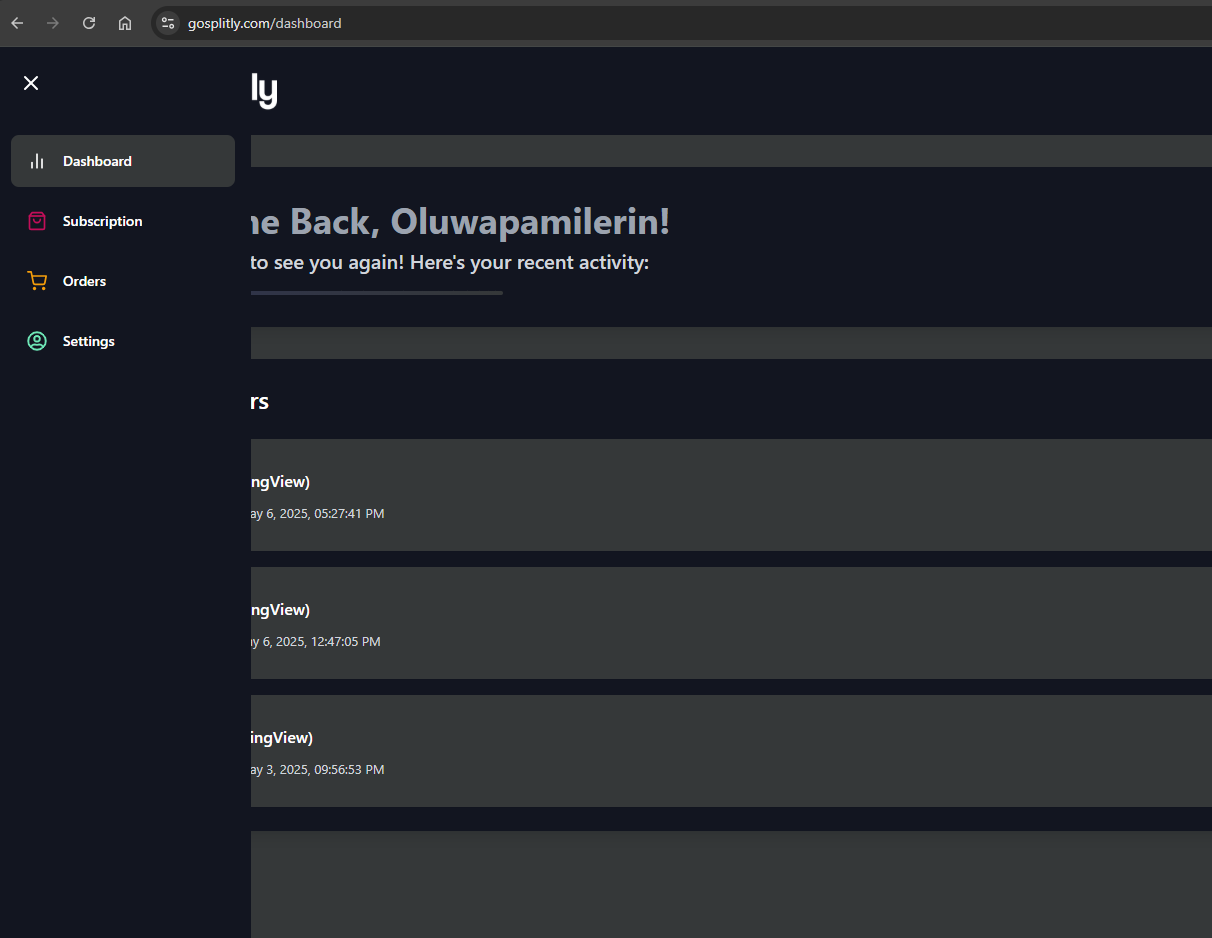
Step 7: Select TradingView
We offer various services; for this guide, we'll focus on TradingView:
* Click on "TradingView"
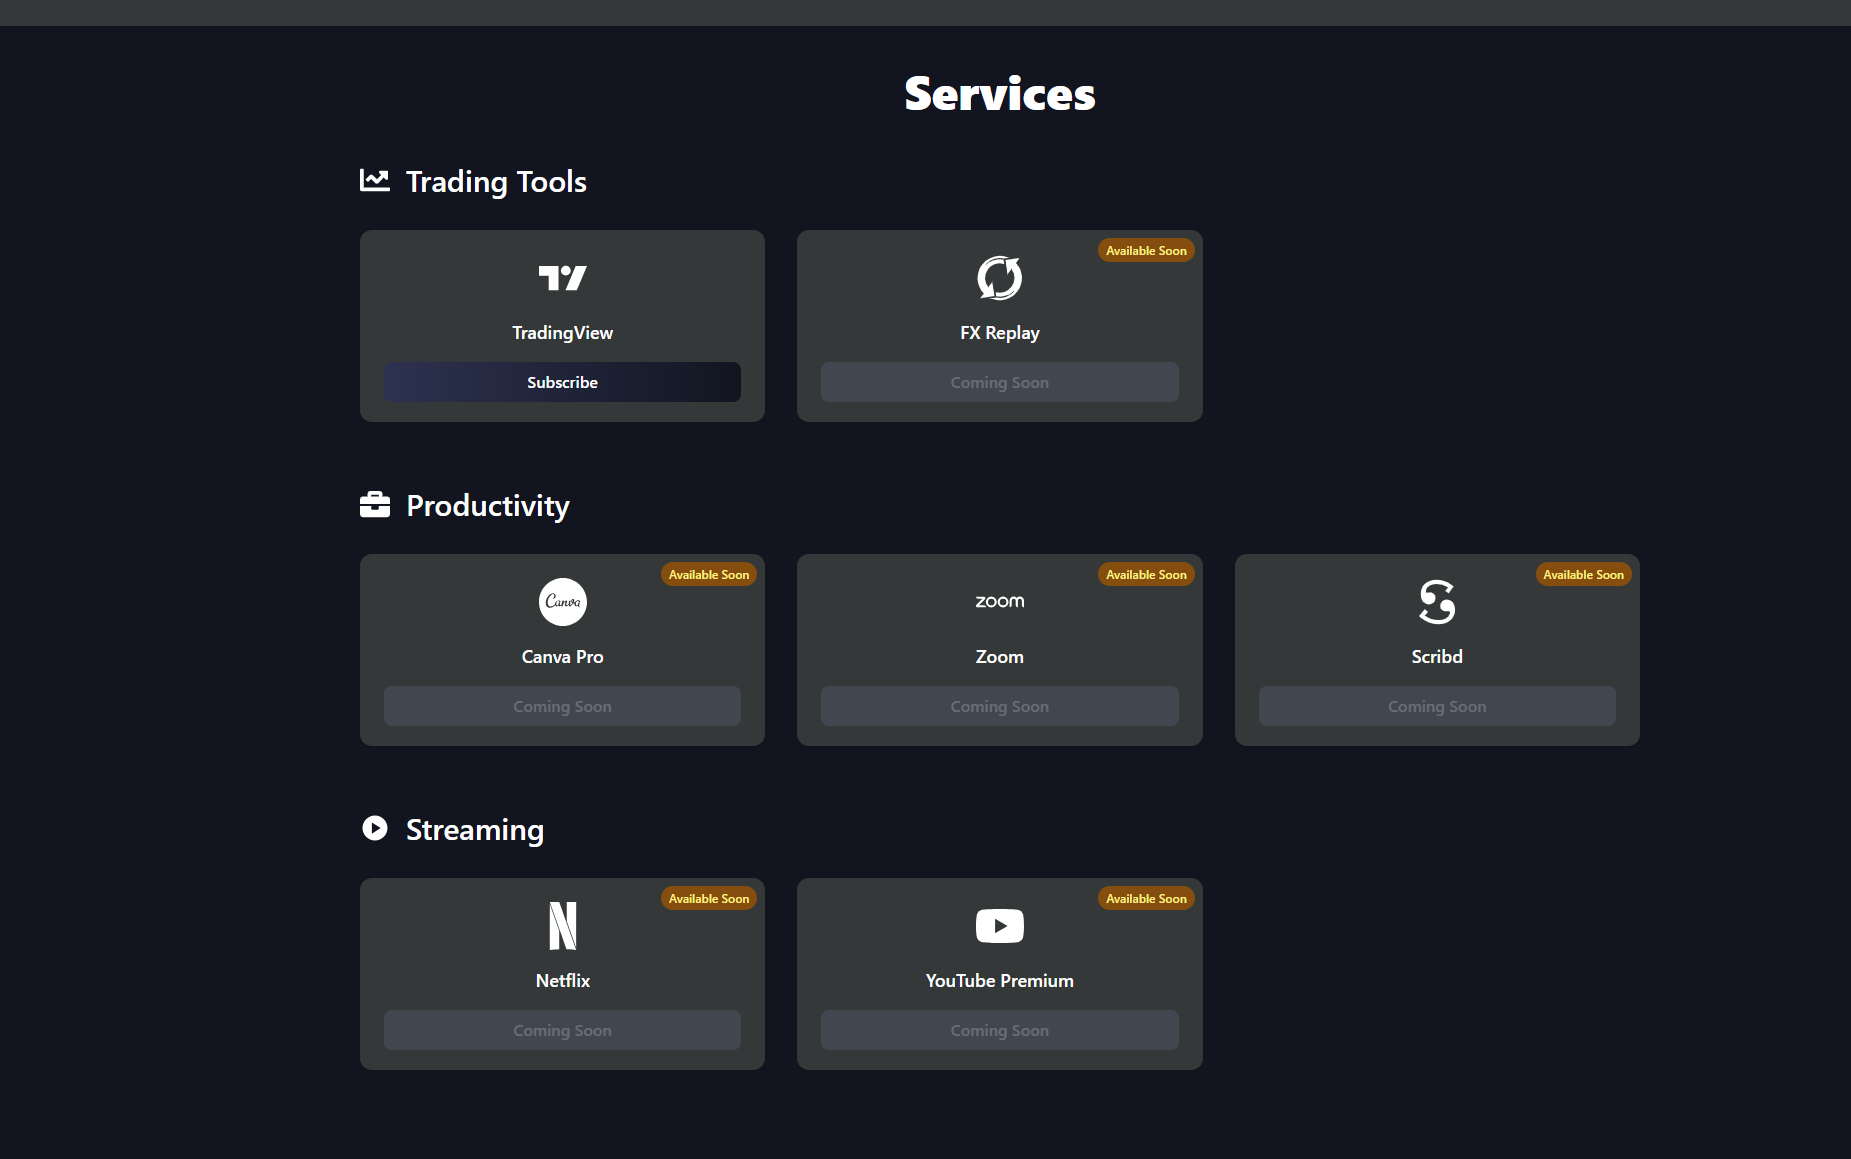
Step 8: Choose Your TradingView Plan
Now, pick the plan that best suits your needs. For this example, we'll use the "Essential" plan:
* Choose your desired TradingView plan (e.g., "Essential")
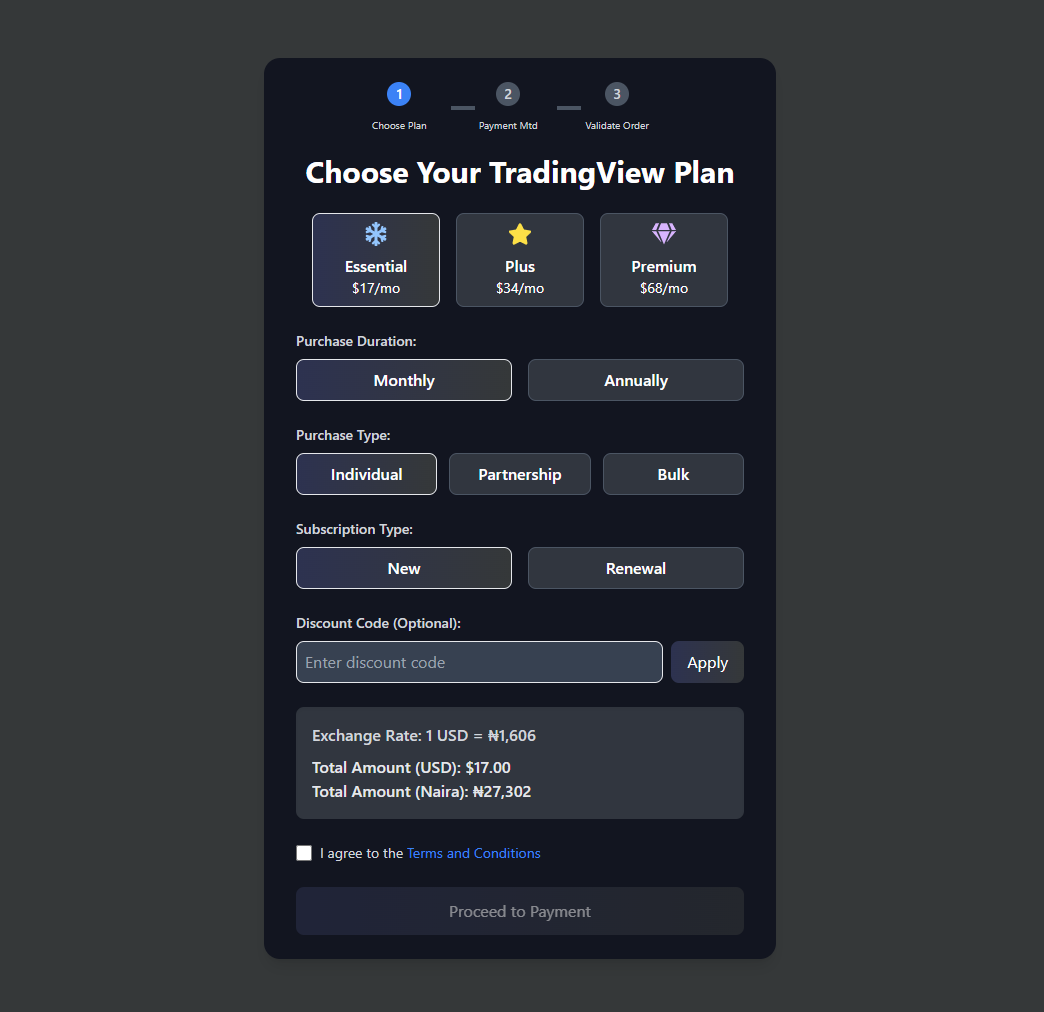
Step 9: Select Your Billing Cycle
Decide if you want to pay monthly or annually (if applicable). We'll go with monthly for this example:
* After clicking on "Essential," click on "Monthly"
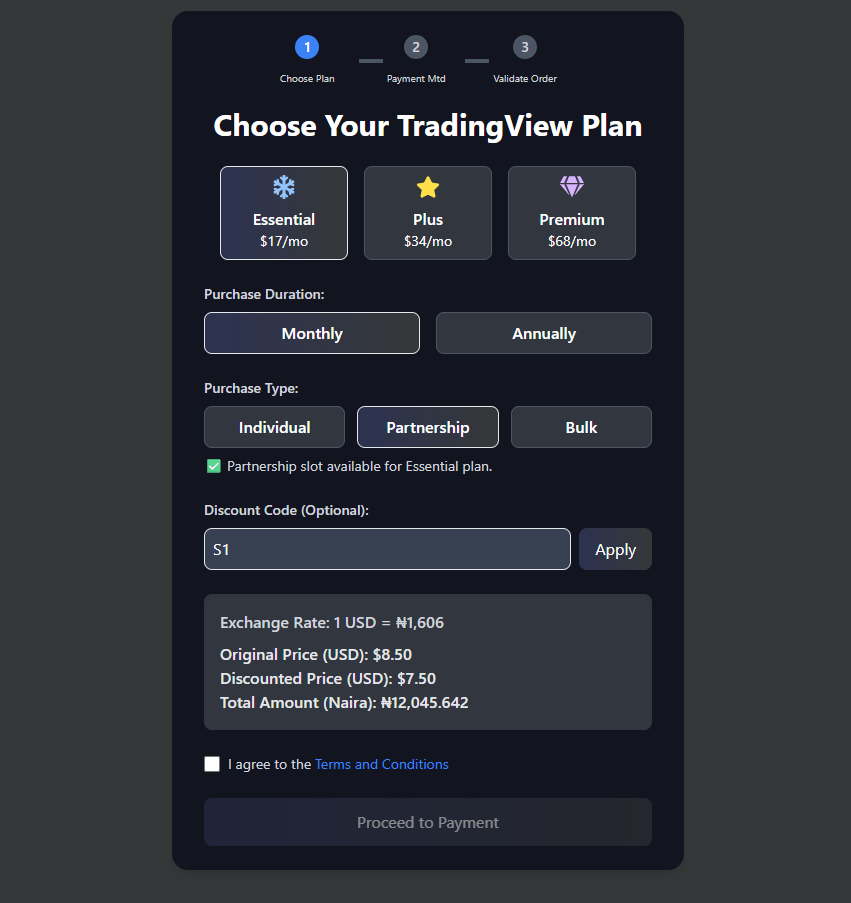
Step 10: Individual or Partnership?
This is where you decide how you'd like to purchase your plan:
* If you're looking for a shared plan, tap on "Partnership".
* If the "Partnership" option is full or you prefer exclusive access, tap on "Individual".
* For this guide, we'll proceed with "Sharing (Partnership)" as our example.
Step 11: Apply Your Discount Code (Optional)
Got a discount code? Don't forget to use it!
* If you have a discount code, enter it in the designated field and click "Apply".
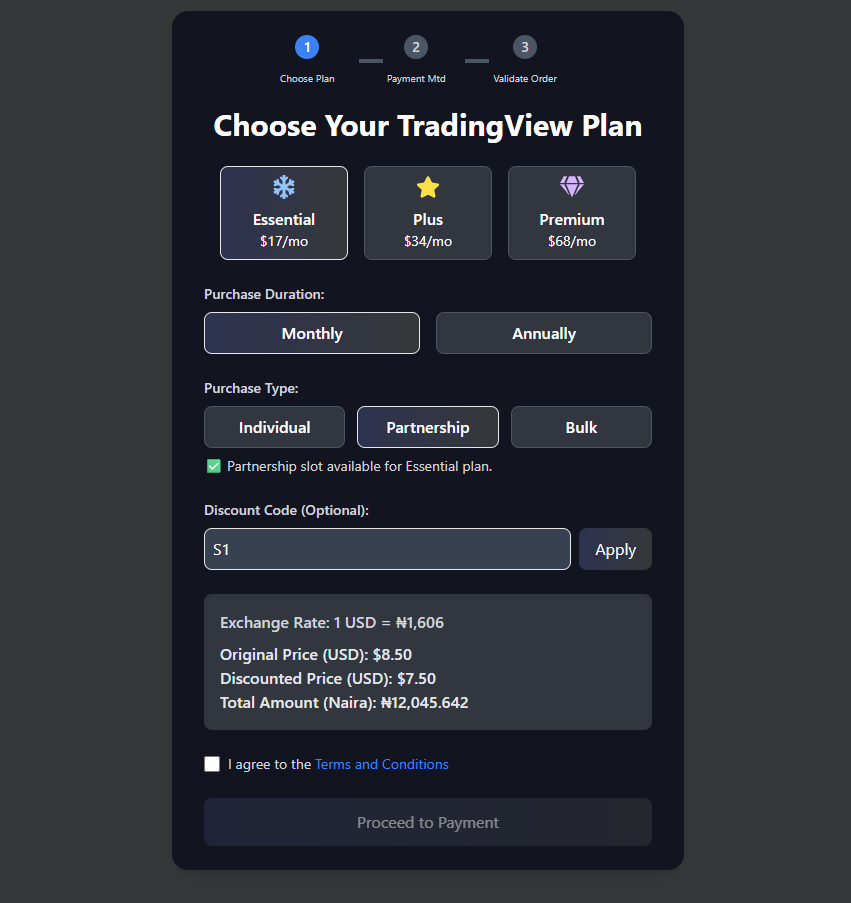
Step 12: Review and Agree to Terms
It's important to understand our terms and conditions:
* Click on "Agree to terms and conditions" (we recommend taking a few minutes to read them thoroughly).
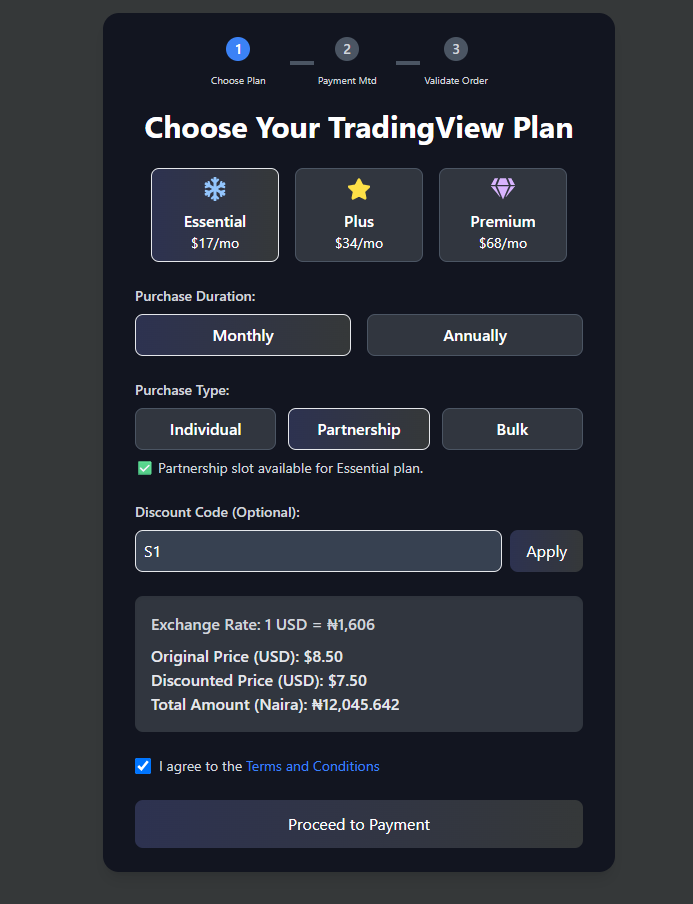
Step 13: Proceed to Payment
Ready to finalize your order?
* Click on "Proceed to Payment"
* You'll have the option to pay in Naira or cryptocurrency. For this example, we'll select Naira.
* Click on "Bank Transfer"
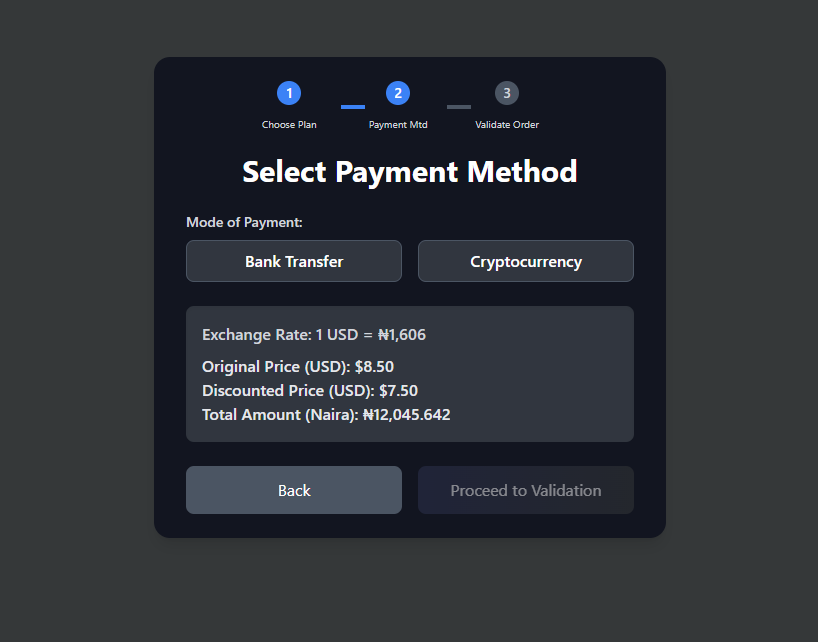
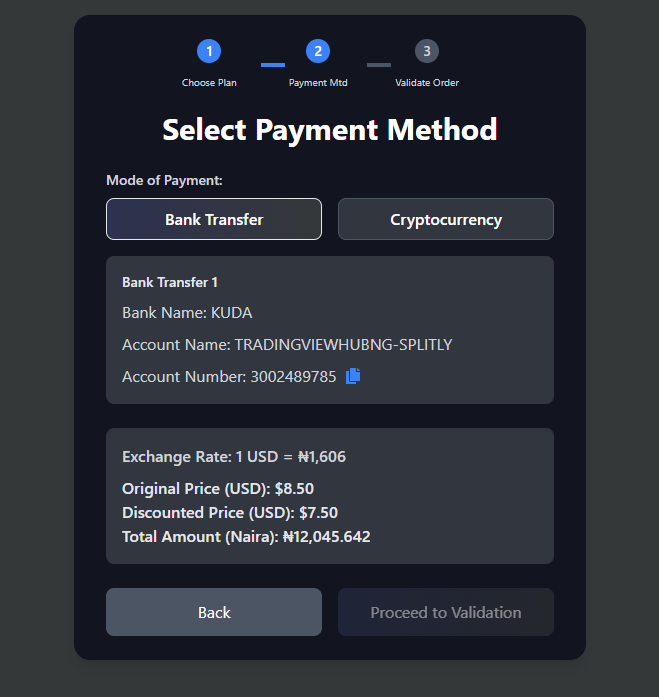
Step 14: Complete Your Bank Transfer
You'll now see the necessary bank details to make your payment:
* Copy the account details that pop up.
* Make the exact payment you see in the "Total amount."
* Tap on Bank transfer 1 so the proceed to activation button can come up.
* After making the payment, click "Proceed to Validation."
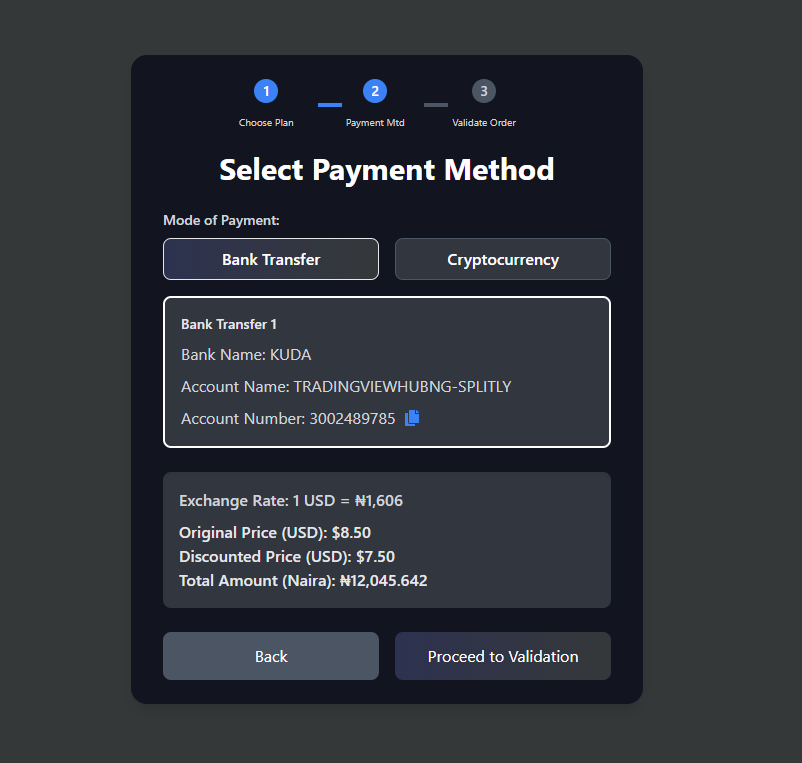
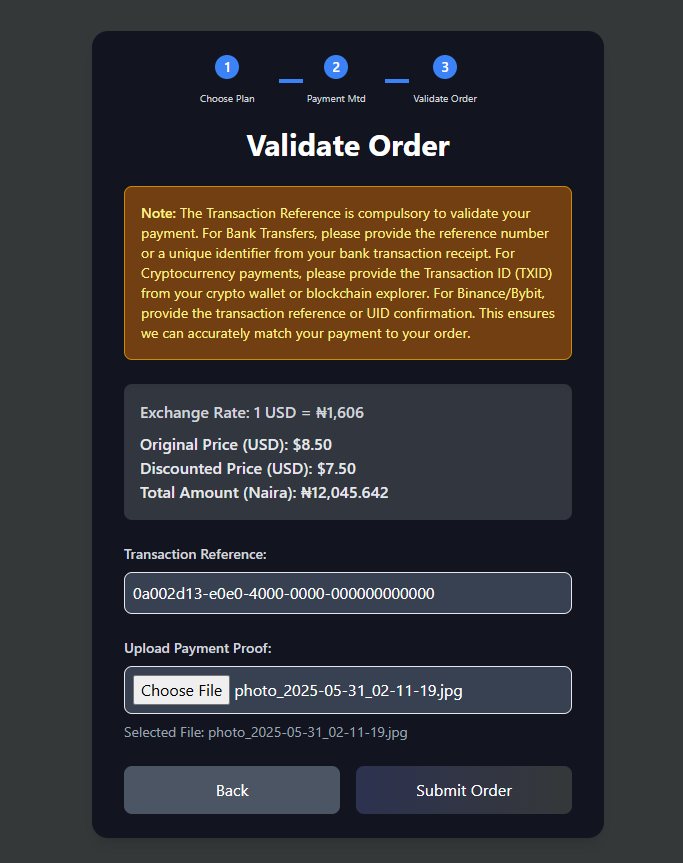
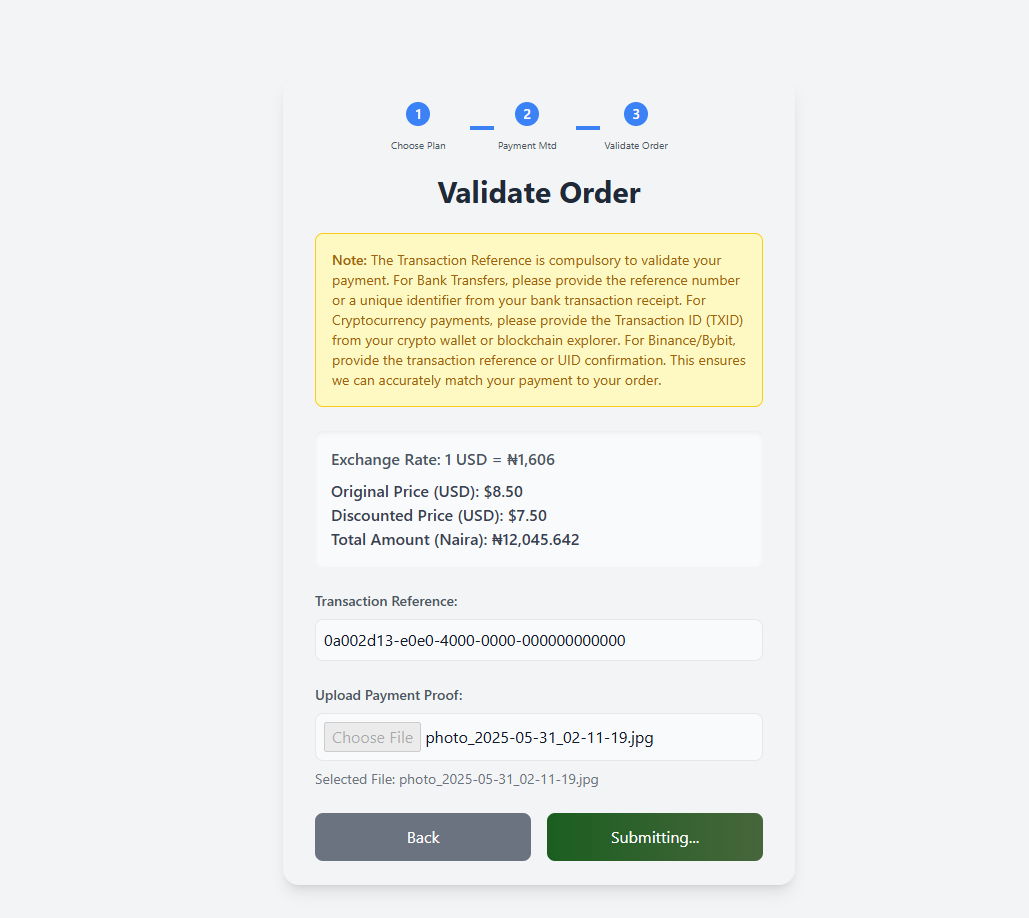
Step 15: Validate Your Payment
Help us confirm your payment quickly:
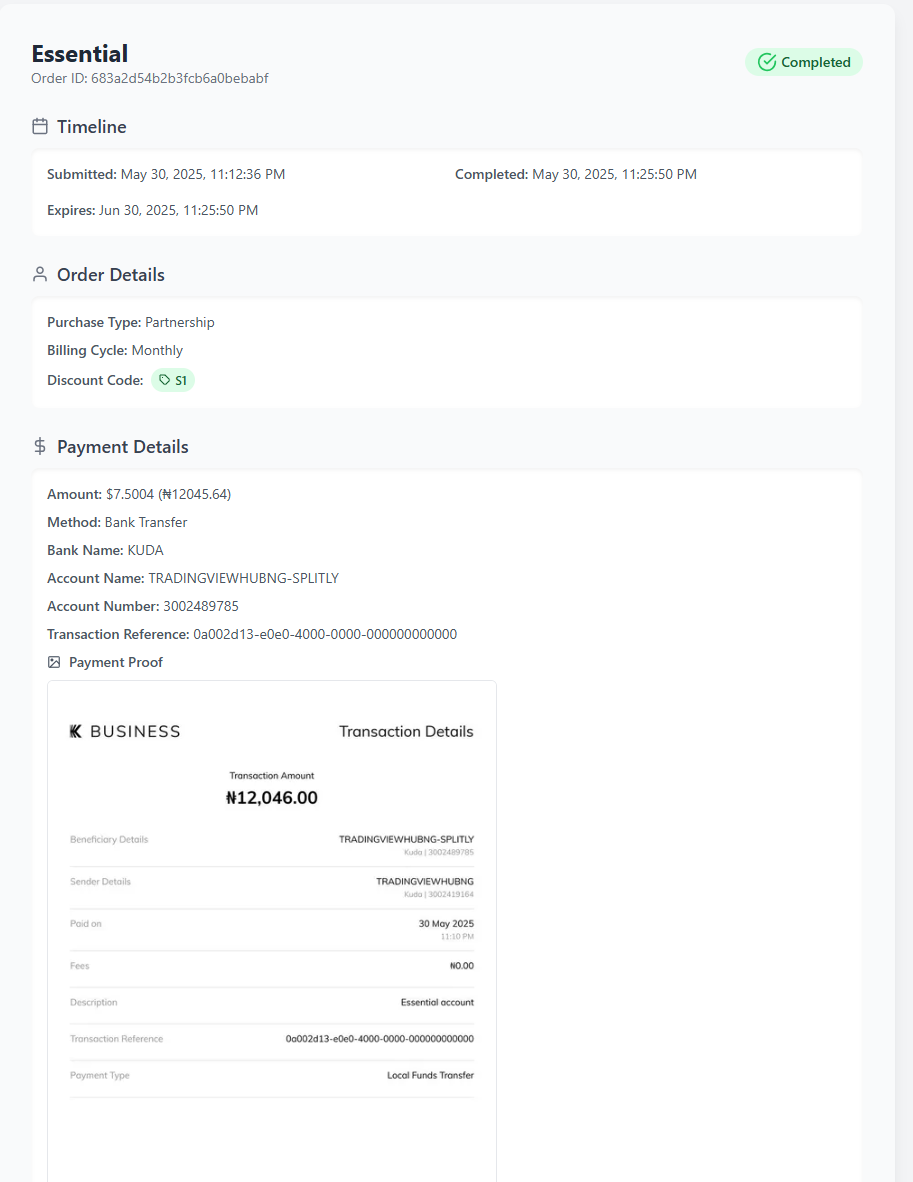
* Input your transaction reference number.
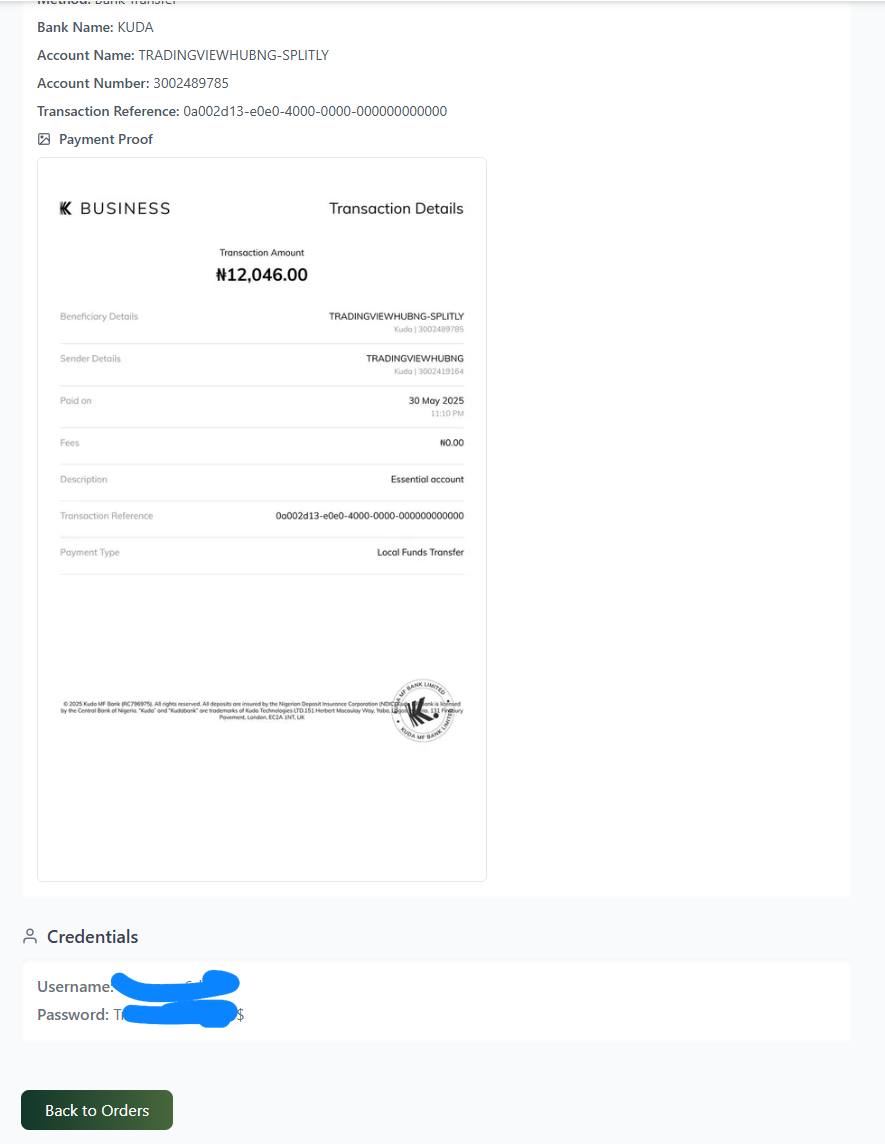
* Upload your payment proof (e.g., a screenshot of the transfer).
* Click on "Submit."
Step 16: Check Your Order Status
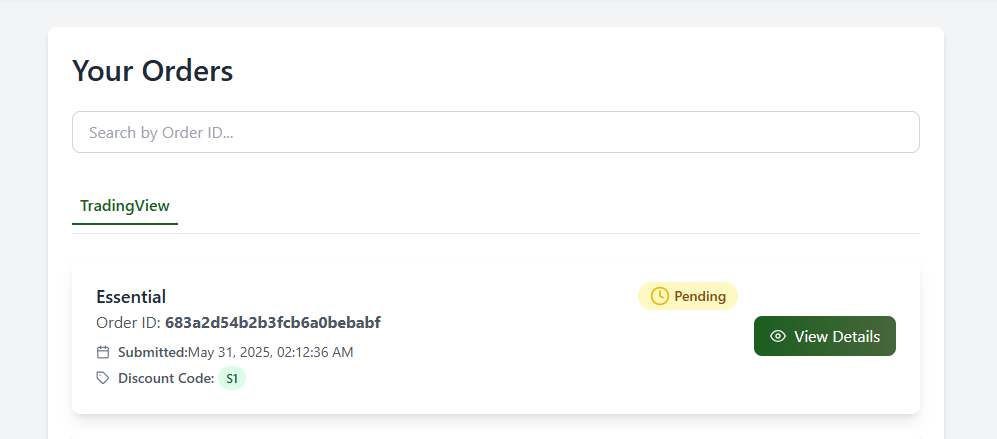
See your order in progress:
* Click on the three horizontal lines (hamburger icon) before the SPLITLY logo again.
* Click on "Orders."
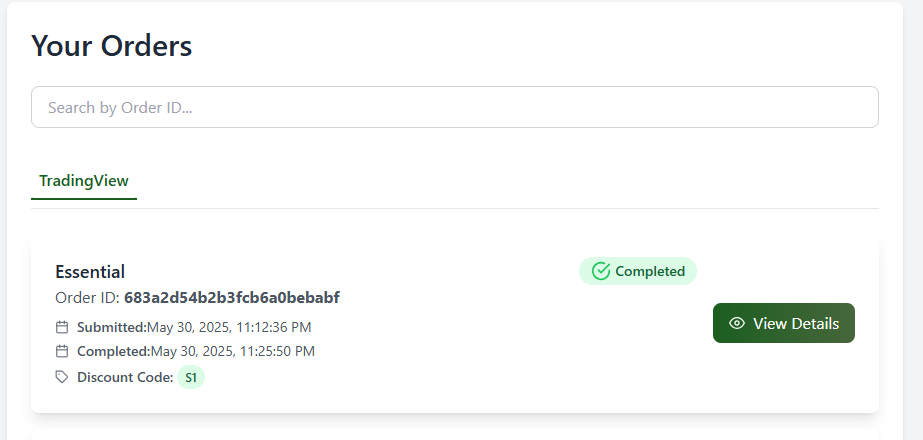
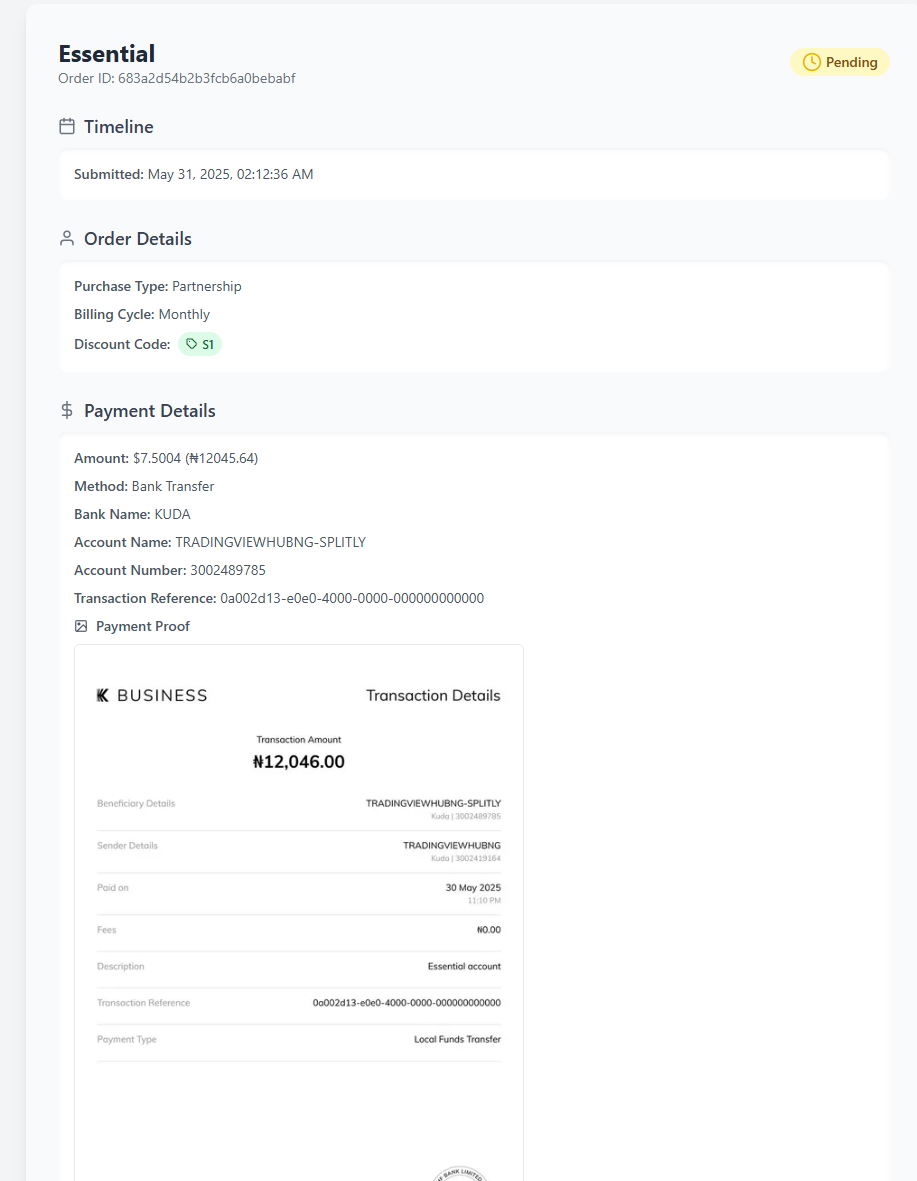
* You will now see your order, and it will initially show as "Pending''
Step 17: Awaiting Completion
The final step is patience!
* If your order is for a "Sharing (Partnership)" plan, it might take some time for full completion as we allocate resources.
* If it's a "Full (Individual)" plan, it typically takes less than 15 minutes for completion.
Step 18: Order Fulfilled!
Once your order is complete:
* The "Pending" status in your orders will change to "Completed."
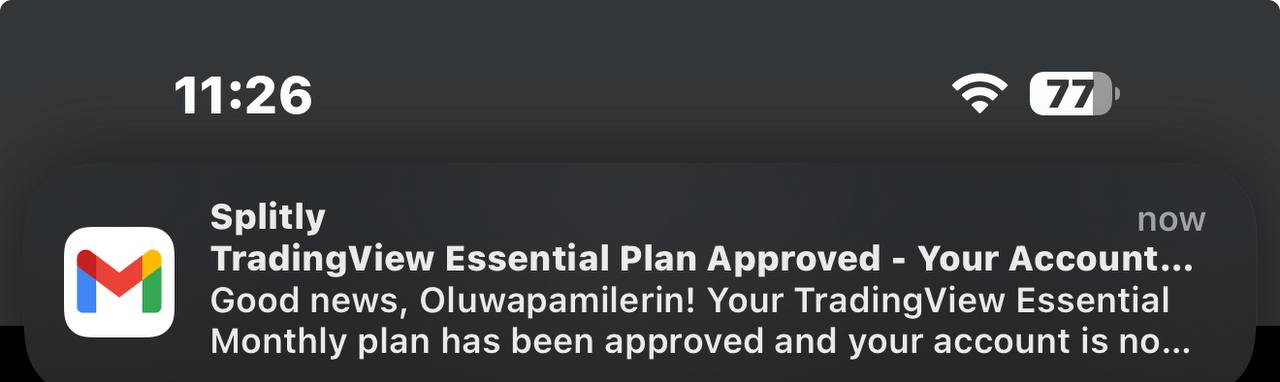
* You will also receive an email with your login details for the service.
This same smooth routine applies whether you're purchasing a Premium, Plus, or even a renewal plan.
Thank you for choosing Splitly! We're here to help you succeed.